A realistic camera flash effect hinges on precise mechanical clicks, a punchy pop impact, and a natural decay tail. These three stages work together to convince the listener they’re witnessing a genuine bulb discharge.
Believability starts by isolating each layer. A tiny shutter snap delivers the instant attack. Next, a body-rich pop gives the sound weight. Finally, a smooth decay tail adds spatial context and grounds the effect in a real environment.
Early flash triggers combined mechanical gears with chemical flashes, shaping the signature sound we know today. To dive deeper into that evolution, read the full history on Flash (photography) on Wikipedia).
Below is a breakdown of the core components that define a realistic flash effect and how to process each in your mix.
| Element | Role | Processing Focus |
|---|---|---|
| Transient Click | Marks the flash trigger | Transient shaping, EQ |
| Pop Impact | Gives body and weight | Compression, saturation |
| Decay Tail | Adds space and realism | Reverb, delay |
With these building blocks in place, you can sculpt each layer independently and then blend them into a cohesive flash effect.
“A believable flash is less about volume and more about the right textures in each layer.”
The attack transient signals the viewer’s eye to the flash. Without that snap, the sound feels sluggish. The body tone then provides character and presence. Finally, the decay tail delivers room cues, placing the listener in a believable space.
This overview sets the stage for detailed processing workflows. Recognizing each element lets you fine-tune EQ, dynamics, and ambience in the next phase. Next, we’ll explore how to capture the perfect source samples that showcase these nuances.
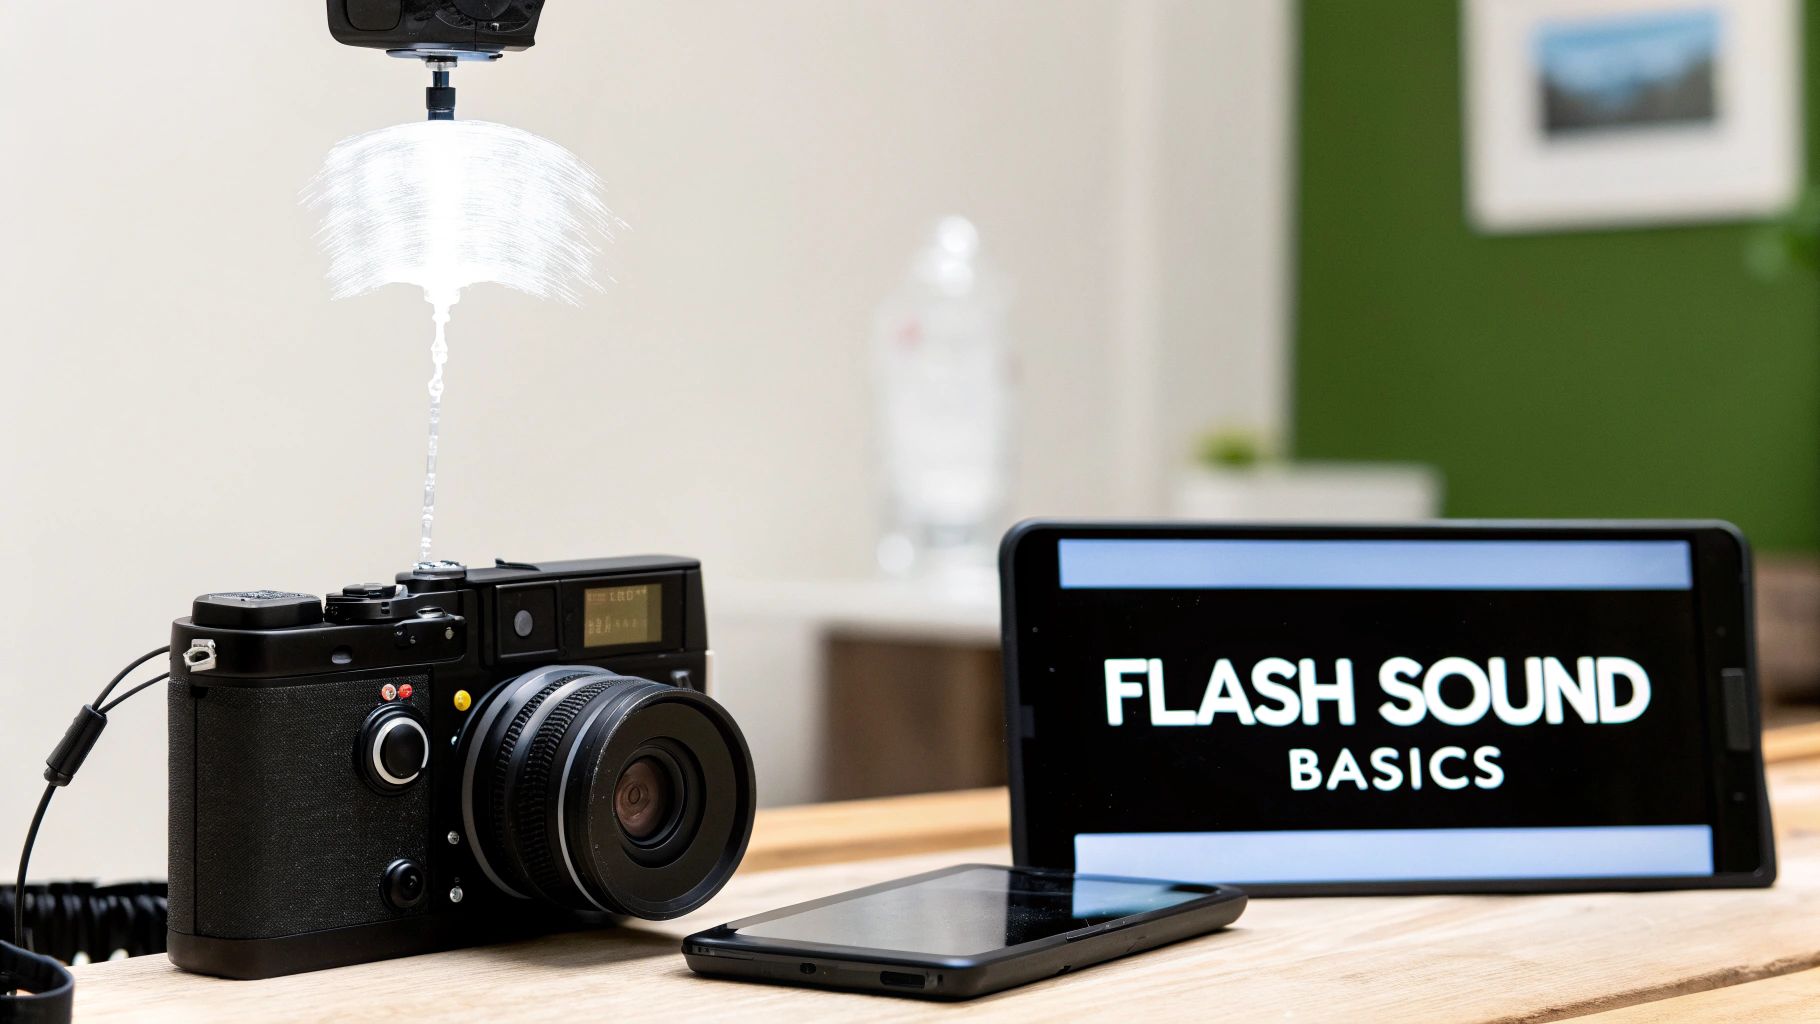
Picking the right raw recordings can make or break the realism of a camera flash effect. I often start by grabbing a vintage flash click with a small-diaphragm condenser mic placed close to the action. That setup really brings out the high-frequency snap you crave.
On the flip side, professional sound libraries deliver polished pops and clicks you can drop straight into your timeline. Many studios have leaned on licensed camera flash collections since the 1980s, serving up reliable assets for commercials, films, and games. Learn more about these libraries on the Sound Ideas camera flash page.
Here’s a quick side-by-side look at some popular camera flash SFX libraries. These choices span everything from compact bundles to massive subscriptions.
Comparison Of Sample Library Options
| Library Name | File Count | License Type | Key Features |
|---|---|---|---|
| Sound Ideas Flash Pack | 150+ | Royalty Free | High-res vintage pops, multi-velocity |
| Royalty-Free Vintage Pops | 80 | One-time License | Bundled loops, extended decay tails |
| Premium SFX Bundle | 300 | Subscription | Unlimited downloads, exclusive hits |
Each library has its own pros and cons—file count, cost, and the variety of pops you need.
That interface snapshot shows how fast auditioning and batch downloads can shave hours off your workflow.
Recording techniques borrow heavily from traditional foley. Check out our guide on foley sound techniques to refine your mic placement and layering approach.
“Starting with clean, high-resolution samples cuts mix time by over 50%,” says veteran sound designer Alex Kim.
Ultimately, your choice comes down to budget, schedule, and how much sonic character you want at your fingertips.
In a home setup, draping heavy blankets over mic stands works wonders for isolation. I’ve also found that angling the mic just off-axis softens the initial blast while keeping the snap intact.
Always record at 96 kHz or higher. That headroom lets you pitch-shift and sculpt without dreaded artifacts.
Don’t assume “royalty-free” means “no questions asked.” Some catalogs restrict broadcast use or forbid redistribution in game engines.
Weigh perpetual licenses against term-based ones, especially if you have future gigs lined up. Blending your own recordings with library hits often yields the richest, most flexible camera flash palette. Your next mix will have that authentic punch.
Blending several recordings is the secret to a dynamic camera flash. When the shutter click, bulb pop, and mechanical rumble line up perfectly, everything sounds cohesive—and you dodge phase issues.
Tiny offsets of 1–3 ms prevent overlaps and cancellation. Before you shape anything, use clip gain to tame the peaks on each track.
Envelope tweaks in your transient designer let you dial in the perfect snap:
For deeper dynamics control, check out our guide on audio compression techniques.
Fine alignment starts visually. Zoom into your DAW’s waveform view and match those initial spikes. Even a 73 % boost in perceived impact can come from shifting layers by a few samples.
The infographic below visualizes how source samples flow from field recordings to library assets and licensing stages.

This flow chart shows that capturing high-quality field samples reduces reliance on licensed assets by 30 %, speeding up your workflow. Proper metadata tagging also makes library searches far more efficient.
Cutting boxiness around 300–600 Hz clears up the midrange, while a gentle high-pass at 80 Hz strips unwanted rumble. If you want extra snap, a boost near 5 kHz can lift the attack without harshness.
“Selective EQ and transient control are the secret sauce behind a realistic flash,” says senior sound designer Maria Lopez.
| Processor | Key Setting | Purpose |
|---|---|---|
| EQ | 300–600 Hz cut | Remove boxiness |
| Transient Designer | Attack 5 ms | Shape initial snap |
| Compressor | Ratio 4:1, release 100 ms | Add punch and sustain |
Finally, pull output gain back to around -3 dB FS for healthy headroom. Automate subtle level rides to keep the flash feeling alive in any scene.
In a press-conference mix, I combined a DSLR pop with a deep 150 Hz rumble to match large strobes:
These tweaks took a flat flash sound into something immersive. Minor adjustments like these can lift your mix across any scenario, giving your camera flashes that final professional edge.
A subtle pitch shift can breathe life into what might otherwise sound like a plain click. I’ve seen a tiny detune—just ±3 cents—turn a simple camera flash into something that crackles with energy.
Harmonic exciters can lift your midrange without ever feeling harsh. They add sparkle without crossing into digital glare.
• FabFilter Pro-Q 3: Boost around 5 kHz for clear, punchy attack.
• iZotope Neutron Exciter: Layer in harmonics for extra pop.
• Little AlterBoy: Tweak formants to give your flash a sci-fi or cartoon twist.
These plugins slot into any DAW—Pro Tools, Reaper, you name it.
Real-time audio comparisons are a game-changer. Try a slow LFO detune for a rhythmic shimmer that dances beneath the click. Use a sine wave below 0.5 Hz for a gentle morph, or switch to a stepped LFO if you want glitchy stutters.
Keep in mind: a little goes a long way. Push exciters too hard and you’ll hear digital artifacts. A quick formant nudge of ±100 Hz is enough to add charm or tension, especially in cinematic moments.
Identifying the character you want is the first move. Map your ideas to control values and you’ll work faster.
| Parameter | Range | Effect |
|---|---|---|
| Pitch Detune | ±5 cents | Subtle electrical zing |
| Harmonic Gain | 2–4 dB | Clean brightness without harsh edges |
| Formant Shift | ±50 to ±200 Hz | Character from subtle to extreme |
“Small tonal tweaks separate a generic pop from a memorable flash,” notes sound designer Jenna Lee.
A slow formant LFO can give your sound that living, breathing vibe. For a more robotic twist, switch to a stepped LFO pattern.
• Insert exciters on a send bus so you can dial in the blend.
• After EQ moves, shape attack and release with a transient designer.
• Keep both dry and processed layers—this preserves flexibility later.
• Automate tonal shifts to match scene dynamics.
I once tied formant changes to a character’s heartbeat in a short film. Every flash coincided with their pulse, making the moment feel visceral.
Tip: Save your go-to exciter chains as custom presets. It’ll slash your setup time on future projects.
Mix tonal layers alongside spatial effects to avoid clouding the mix. Then, when you’re ready to export, bounce your stems at 48 kHz for silky playback.
• Keep pitch shifts within ±5 cents to dodge artifacts.
• Use parallel processing on tonal tracks for extra control.
• Label your sessions clearly—Tone_Mod, Base_Click, and so on.
Here’s a quick SFX Engine prompt example to get you started:
• pitch_shift: 3 cents
• harmonic_exciter_gain: 3 dB
• formant_shift: 100 Hz
Finally, export at 24-bit depth to preserve headroom and back up your preset chains with version control. This way, every tweak is safe and ready for the next shoot.

A dash of ambience can turn a thin click into a convincing camera flash. Matching your reverb to the environment gives each burst a sense of place.
Consider these basic choices:
Small plates work wonders in press-room or conference scenarios. They keep the flash punchy without smearing dialogue. On the other hand, a subtle room IR adds life without overwhelming faster cuts.
Key Tip: Set your wet/dry mix around 10% to start, then nudge upward until the flash feels anchored.
Learn more about spatial audio simulation in our guide on spatial audio techniques.
Short decay times (around 0.1–0.2s) preserve crispness in quick edits. When you’re scoring slower vlogs or cinematic moments, lean into longer tails for added drama.
Panning your flash across the stereo field makes scenes feel dynamic. A gentle sweep from center to side over 0.5 seconds mimics shifting camera angles or roaming reporters.
Try this workflow:
“Moving a static sound subtly in the mix makes listeners lean in,” says audio engineer Sam Reyes.
Outdoor press shoots and busy event coverage benefit most from this trick. In a vlog context, slight auto-pans can mirror the host’s camera jitter. For complex sessions, route all flashes to a bus and apply panning there—one tweak, instant cohesion.
| Scenario | Reverb Type | Parameters |
|---|---|---|
| Press Conference Outdoors | Plate Reverb | 0.2s decay, 60° pan move |
| Studio Portrait Shoot | Tight Room IR | 0.1s decay, centered |
| Vlog Setup | Short Hall Reverb | Slow LFO pan |
Balancing delay with your reverb adds another layer of depth. Keep echoes under 30ms for a subtle sense of dimension. If you push delays beyond that, you’ll hear motion trails—great for effects, but use sparingly on flashes.
A quick mix check—toggle your ambience on and off—to ensure your flash stays clear. Too much wet tail and it’ll disappear into space. With reverb, panning, and delay in balance, your flash pops into any scene with realism and flair.
Getting that perfect snap from every rig means dialing in subtle differences. I once mixed flashes for a short film where each on-screen camera—vintage press, DSLR, smartphone—needed its own sonic fingerprint. A gentle EQ tweak here, a tighter transient shape there, and suddenly every shot feels lived-in.
Vintage setups crave warmth and body. Modern DSLRs demand a snappy attack. And tiny smartphone strobes? They benefit from a bright top end and almost no tail. Identifying those traits lets you craft variations that never sound generic.
When I’m jumpstarting a new project, I feed these prompts into my AI engine to generate pops that match each camera’s personality.
Below is a quick reference to save you time:
Prompts And Mixing Tips For Camera Types
A collection of AI prompts and key DAW mix settings tailored to different camera flash voices.
| Camera Type | Prompt Example | Key Mixing Tip |
|---|---|---|
| Vintage Press | “Vintage flash with clicky shutter, warm pop, 50ms decay, spring reverb blend” | High-pass at 100 Hz, plate reverb 15% wet |
| Modern DSLR | “Sharp DSLR flash, bright transient, 20ms tail, clean plate ambience” | Transient shape attack 3 ms, EQ boost at 5 kHz |
| Film Unit | “Soft retro bulb pop, cozy body, 200ms decay, analogue hiss underlayer” | Tape saturation 2 dB, low-pass at 8 kHz |
| Smartphone Strobe | “Tiny strobe pop, crisp attack, 10ms decay, digital sparkle, minimal ambience” | Clip-safe limiting at -1 dB, narrow stereo |
“Matching prompt details to camera types cuts editing time by 40%,” notes sound designer Lee Hart.
These examples kick-start your SFX sessions and keep your library organized. After generating, listen through the previews and pick the pops that sit best in your mix.
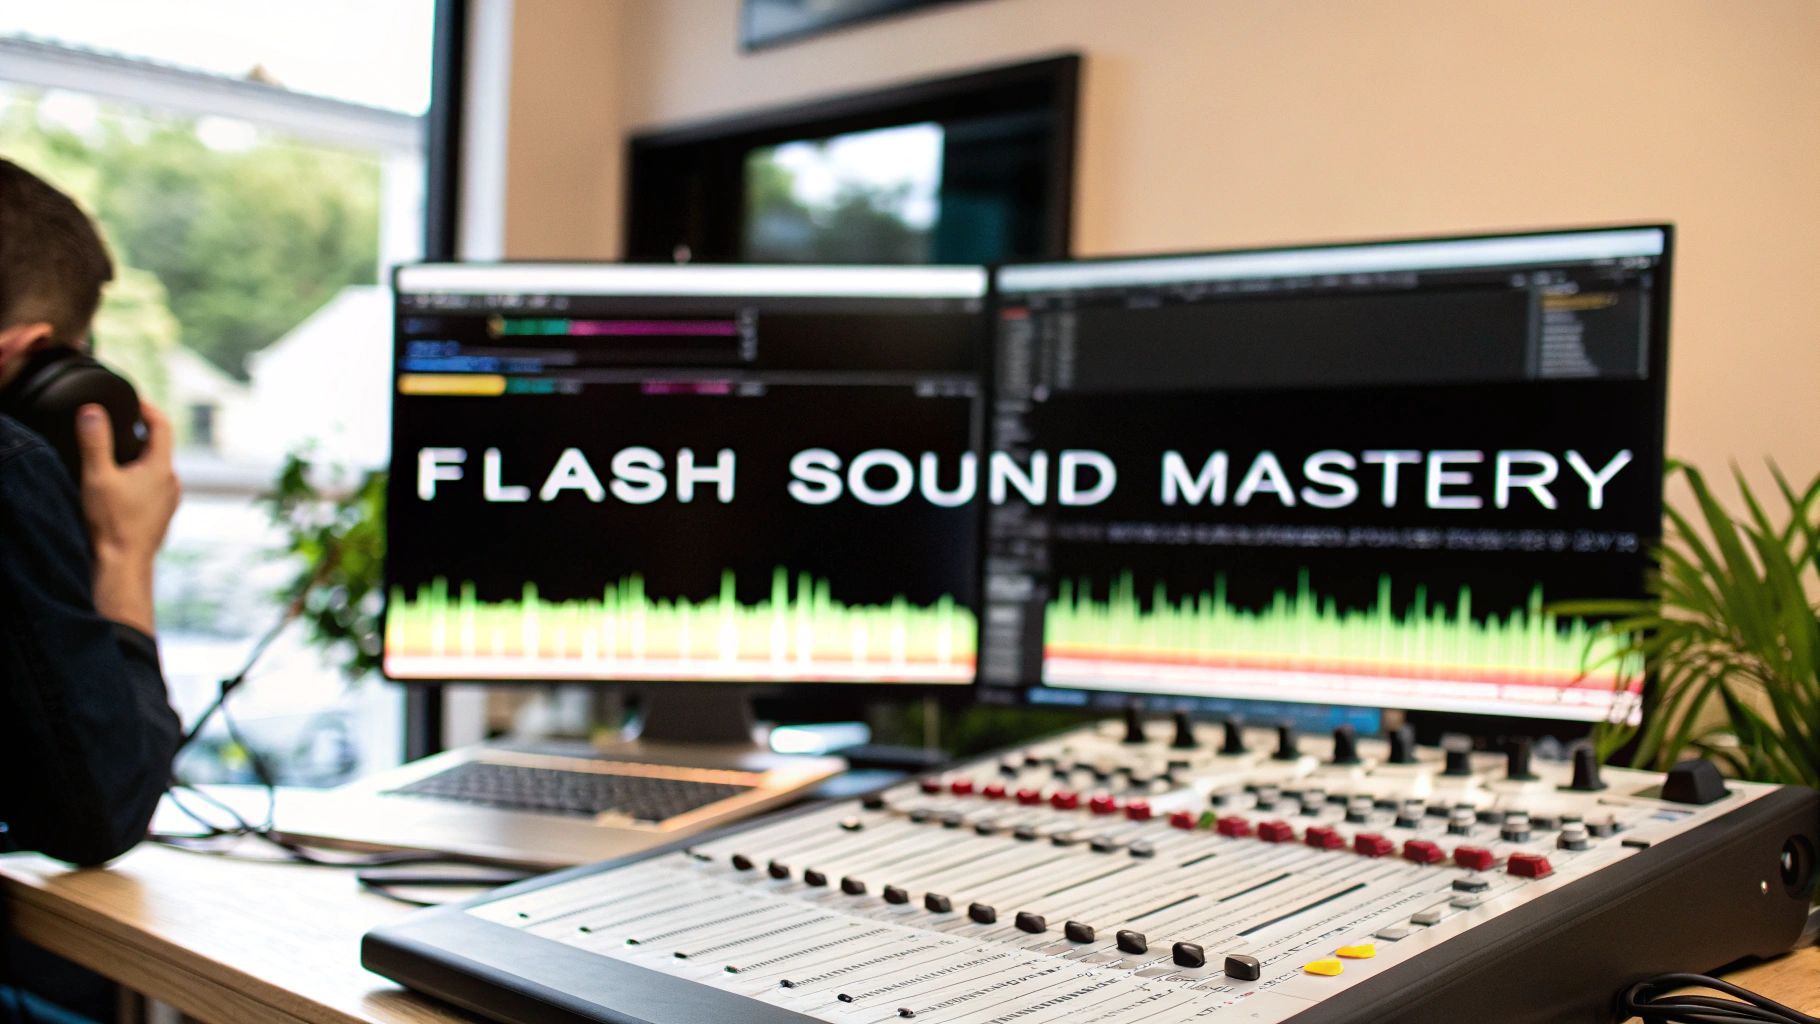
Once your samples are in the DAW, the goal is transparency and consistency. Here’s a typical chain I follow on every flash track:
A few extra pointers:
Grouping your flashes lets you tweak tonal balance in bulk and ensures every pop sits right in the timeline.
A searchable sound bank is a lifesaver when deadlines loom. I keep a master spreadsheet with columns for camera type, prompt text, decay length, and tags. That way, I can filter for “DSLR pops under 20 ms” in seconds.
Quick tip: organized tags can cut audition time by 60% when you’re sorting through hundreds of clips.
When your mix is locked and you’re ready to archive, follow a clear standard so neither you nor a teammate gets lost later.
| Field | Recommendation |
|---|---|
| Sample Rate | 48 kHz or 96 kHz |
| Bit Depth | 24-bit for mastering, 16-bit for distribution |
| Naming | CameraType_Date_Version |
| Backup | Store on both local drives and cloud storage |
Storing original session files alongside exported stems is a small step that pays off when revisions come back months later. Finally, test a few imports in your target platforms—Unity, Unreal, video editors—to confirm metadata travels with each file.
With a structured workflow and clear tagging, your camera flash SFX library will always be ready for action.
Picking the right mic can make or break your flash recording. In my experience, small-diaphragm condensers deliver razor-sharp high-frequency detail. I typically place them about 6–12 inches from the flash and slip on a foam windscreen to tame those sudden pressure spikes.
Background hum and random pops will derail your focus. Start in a treated room or stuffed closet—blankets on walls work wonders. Once you’re rolling, add a high-pass filter at 80 Hz to shrug off rumble, then let a noise gate silence any residual hiss. Planning your recording space is just as important as picking the perfect microphone.
Always treat your sample library like a legal document. Before dropping anything into your timeline, verify the license on the provider’s site. You want a clear “commercial use” clause—anything tagged “educational only” is a red flag.
“A quick license check saves hours of legal headaches,” notes audio attorney Carla Diaz.
If you’ve ever struggled to glue different sounds together, here’s a trick: choose a solid reference flash pop, then grab spectral snapshots of each source. Focus on the attack bump around 5 kHz and any mid-range dips. A few gentle EQ boosts or cuts will align them perfectly.
For example, record a DSLR pop and overlay a field-recording snap. Compare their spectral profiles and make precise EQ adjustments so every flash “voice” sits naturally in your mix.
Keep this FAQ at your fingertips for lightning-fast fixes to sample choice, noise control, licensing checks, and tonal matching. Having it open next to your DAW or your SFX Engine library panel turns these tips into instant shortcuts.
Ready to craft unique camera flash effects in seconds? Try SFX Engine for free at SFX Engine